


ManyChat is a fantastic solution for connecting with your clients more effectively. When you combine it with WooCommerce’s fantastic selling tools, you’ve got just what you need to improve user experience (UX) and boost revenues.
Then we’ll give you three pointers on how to use ManyChat to boost sales. But first, let’s take a look at what ManyChat is and why it’s such a valuable addition to your online store.
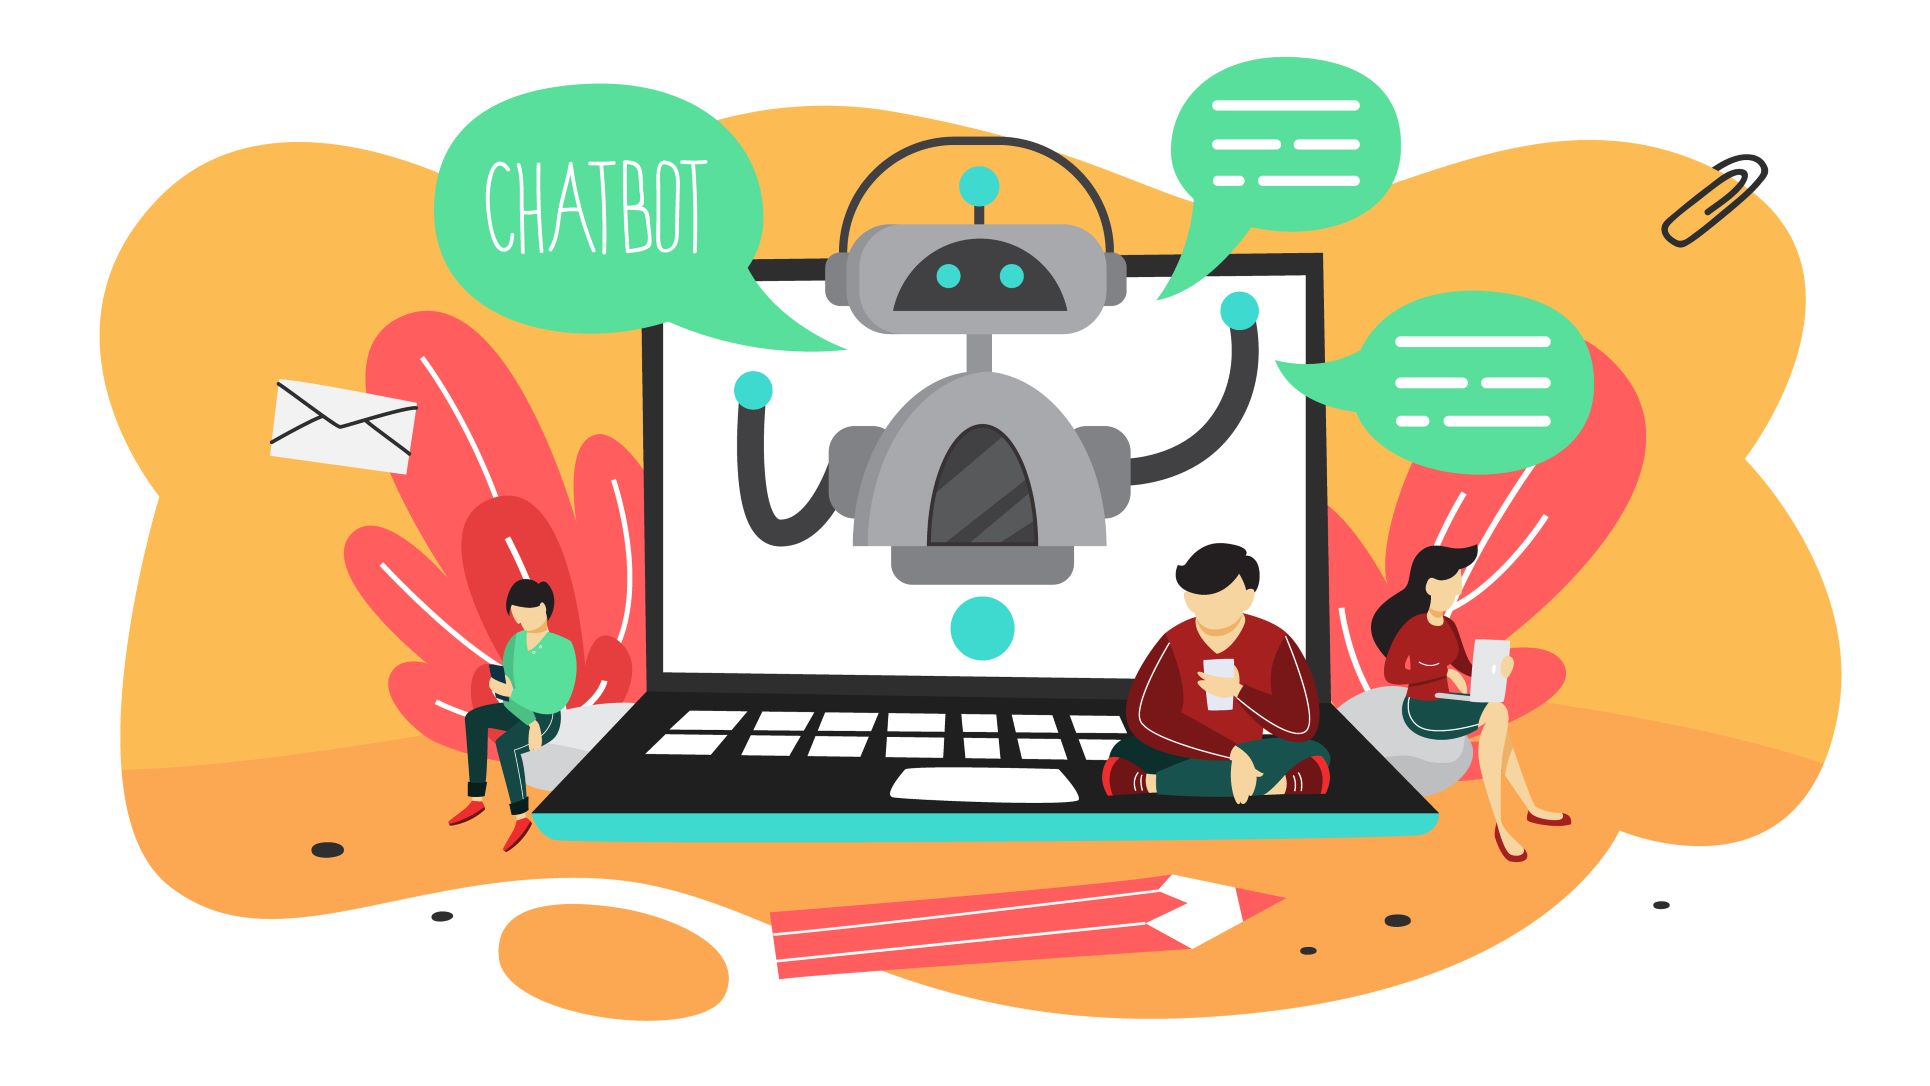
Facebook chatbots can be difficult to develop in terms of usability. Manychat, for example, is a third-party service that makes the procedure easier. Training a chatbot with these services is as simple as anticipating what your visitors could say and coming up with the best replies.
ManyChat: What Is It and Why Do You Need It?
ManyChat is a live chat service that enables you to communicate with consumers in real-time or via a chatbot:
ManyChat provides you the tools you need to develop stronger client connections and loyalty. In the end, this means bettering the shopping experience for your customers and boosting income. Additionally, you may communicate with new customers and allow loyal customers to purchase items directly through Facebook Messenger. This isn’t the only way to communicate, though.
You may also send an email or a text message. You may more easily achieve your eCommerce goals with ManyChat by:
- Making specific product recommendations
- Identifying and resolving consumer issues
- Using tailored messaging to recover abandoned carts
- Promoting your business to get more money
There’s a lot more. However, making the user’s buying experience as frictionless as possible is one of the most important aspects of running a successful online company. The following are the top three ways ManyChat may help you improve customer experience:
- Respond in real time to questions
Your clients may not always have a clear issue. They’re just interested in your items or services. You may use your chatbot to answer these queries and direct consumers to the appropriate resources.
The more knowledge your customers have about your goods, the more likely they are to trust your brand. At the end of the day, this equals more sales and more loyal consumers.
- Troubleshoot any issues that may arise.
If you have an issue with your online business, you may be losing a lot of money. You may use your ManyChat chatbot to help consumers with whatever difficulty they’re facing, whether it’s with a product page, a payment gateway, or just a user having difficulties signing in.
The best aspect is that you can develop a chatbot for typical client concerns, eliminating the need for real employees to be available 24 hours a day, seven days a week.
- Remind customers of anything they may have forgotten.
It’s no secret that shopping cart abandonment is one of the most serious issues that online merchants confront. Customers, on the other hand, occasionally fill their carts with goods they desire and then forget they’re still there.
You may send gentle reminders to your consumers via Facebook, email, or SMS, letting them know that their favorite goods are still on the way. Let’s dive into how to install ManyChat on your WooCommerce site now that you know how it can improve customer UX.
How to Integrate ManyChat with WooCommerce
We’ll start with the more restricted version, which merely utilizes ManyChat. The entire procedure may be completed in only two steps:
- Get your JavaScript snippet for ManyChat.
- Embed your JavaScript Snippet in your WooCommerce store’s head> tag.
Let’s get started with our first technique.
The first method is to install ManyChat on your website.
Get Your JavaScript Snippet for ManyChat
Go to your ManyChat dashboard by clicking here:
When you signed up for ManyChat, you should have connected your Facebook account. If you didn’t, you may do so by going to the image above and choosing Connect under Facebook.
Go to Growth Tools in the left-hand menu once you’ve connected your Facebook account:
Now, in the upper right-hand corner of your dashboard, click + New Growth Tool:
On your WooCommerce site, you may pick the type of ManyChat widget you want:
You have a lot of alternatives here to accomplish your eCommerce objectives. However, for today, we’ll go with Customer Chat:
You’ll be taken to a new window where you can customize your messaging automation flow. This lesson will not cover how to modify your chatbot. Instead, we’ll concentrate on how to integrate ManyChat into your website. To do so, go to Install JavaScript Snippet:
You will be prompted to approve your website in a popup window. Check to see if your website is allowed to host a ManyChat chatbot. If your website isn’t mentioned, type in the URL of your WooCommerce store and click Add:
Click Next in the bottom right-hand corner once your site has been added and appears on the list. This will lead you to the snippet of JavaScript you’ll need to incorporate ManyChat on your WooCommerce site:
Copy and paste this JavaScript snippet into the head> element of each page of your website.
Add Your JavaScript Snippet to Your Page
All you have to do now is copy the JavaScript snippet and paste it into the head> element of each page of your WooCommerce store. Because WooCommerce is a WordPress plugin, you’ll need to include the JavaScript snippet in your WordPress installation.
The good news is that it is really simple. To get started, you’ll only need to install and activate one plugin. Go to Plugins » Add New: on your WordPress dashboard.
Look for the Insert Headers and Footers plugin. Once you’ve found it, go ahead and click Install Now:
Then press the Activate button.
Go to your WordPress dashboard menu once you’ve successfully installed the Insert Headers and Footers plugin. To add headers and footers, go to Settings » Insert Headers and Footers:
Now, in the first box called Scripts in the Header, paste your ManyChat JavaScript code. At the bottom of the screen, click Save.
It’s worth noting that if you wish to utilize a ManyChat embeddable widget, you’ll need to input an embed code separately. That’s all there is to it! Your ManyChat chatbot has been integrated into your website.
Use ManyChat to create an embeddable widget.
We said earlier in the tutorial that you have the option of choosing the type of ManyChat widget you want for your WooCommerce business. We’ll need a button-like widget that can be embedded. Click New Growth Tool: from your ManyChat dashboard.
After that, you’ll choose your widget type. We’ll use Button in this tutorial:
You’ll get the embed code when you’ve built and activated your ManyChat button widget:
You’ll need the Widget ID to connect ManyChat with WordPress, so save this tab for later. For now, we can build a popup for our WooCommerce store by opening a new tab.
Create a WooCommerce Popup
The first step is to log into your WordPress account. If you don’t already have one, now is the time to get one. It’s no issue. Click Create New Campaign: once you’re in the WordPress dashboard.
After that, you’ll need to choose a campaign type. Then you’ll need to choose a template for your website:
Pre-built templates in WordPress may save you hours of effort throughout the design process. With our drag and drop editor, you can completely alter any of our layouts in minutes.
They also look fantastic on mobile, tablet, and desktop, allowing you to start conversing with your site’s users regardless of their device. If your site receives a lot of mobile traffic, you may further prioritize it by using a mobile-friendly template.
How to Integrate a ChatBot into a WordPress Site
To get a chatbot up and running on your website, you’ll need to develop it with a third-party provider and then figure out how to link the two.
In this part, we’ll go through how to integrate a Facebook-powered chatbot with your website. Let’s get started!
Create a Facebook ChatBot.
It’s easier said than done to build a Facebook chatbot. Depending on how you approach it, the procedure might be difficult.
For example, if you’re familiar with Python, you may utilize it to create a chatbot using Facebook’s API.
Connect your chatbot to your WordPress site.
It’s time to link your chatbot with your website after it’s completely functional. As far as plugins go, this one is really easy to set up. Install and activate it as usual, then navigate to your WordPress dashboard’s new Chatbot tab.
To begin, you’ll need to add the Facebook App ID and Page ID for your chatbot. Whether you utilized a third-party service to develop your chatbot or not, the method for locating and inputting these IDs is the same. After that, you’ll want to specify which pages your chatbot should not display on. Most people include chatbots on their home pages, but you may wish to keep yours hidden from posts and 404 error pages.
Use WordPress to test your Facebook ChatBot.
There’s a lot to be said about testing your chatbot as soon as feasible. This may be done as part of step one, and when people start to utilize it, you can fine-tune its behavior.
For the time being, your primary worry should be whether WordPress is properly loading your chatbot and connecting it to Facebook. Because the integration procedure is straightforward, it’s likely to go off without a hitch the first time.
What Is a ChatBot? (And When It Makes Sense to Use One)
A chatbot, as the name suggests, is a program that uses live chat to communicate with people automatically. In order to simulate the experience of conversing with a real person, your chatbot should try to ‘sound’ as natural as possible. People’s minds often leap to Artificial Intelligence when they think about chatbots (AI).
Deep learning is used by certain chatbots to increase their abilities. When you come across a chatbot in the wild, it will usually react with a series of lines triggered by particular keywords. Currently, chatbots cannot take the place of people. Chatbots, despite their restricted capabilities, have a variety of useful uses for websites, including:
Answering basic customer service questions. Your chatbot should be able to recognize common client concerns and direct them to the resources they need to resolve them. Customer queries are routed. Transferring customers back and forth based on your area of expertise may be a headache if you have more than one person handling live chat inquiries.
A chatbot can serve as a receptionist, routing queries to the appropriate professionals. Chatbots are very beneficial for service and e-commerce websites because of this. Because these areas typically deal with a high volume of client inquiries, adding an extra tool to assist you to manage the workload is a wise decision.
Creating a chatbot, on the other hand, is rarely as straightforward as entering probable responses and calling it a day. You may develop functioning chatbots that you can link with your website using a variety of platforms.
The majority of them, however, have a severe learning curve. In other words, even if you’re not creating the software from start, programming an effective chatbot may be time-consuming which is where the following services come in.
Conclusion
You’ll probably get a lot of questions if you use live chat on your website. The more messages you have to respond to, the more time it will take up. In summary, utilizing a chatbot to address client inquiries with basic replies is a good idea. Setting up a WordPress chatbot is, perhaps, easier said than done. However, it should only take you three steps in theory:
Create a Facebook chatbot (this is the most time-consuming phase!).
Using Manychat Chatbot, integrate your chatbot with WordPress.
WordPress may be used to test your Facebook chatbot. Have any more questions on how to set up a WordPress chatbot? Let’s have a discussion about them in the comments area below!


3 comments